Thursday, September 10, 2015

CanningLive: Pumpkin Edition

Interested in learning how to process fresh pumpkins? Then join us for the second annual #CanningLive event on Saturday, October 3, 2015 from 1:00pm to 2:00pm EST as we live tweet the process. Although the event name suggests we'll be canning, the USDA recommends that pumpkin puree should be frozen (more on that during the event).

We'll live tweet, and post on Facebook, how to select, break down, roast and puree fresh pumpkin. By the end of the event you'll know how to make and store homemade puree perfect for pies, soups and side dishes.

Joining me in my kitchen will be Bren Haas, host of #GardenChat and local food enthusiast. If it's anything like last year's event, Bren will be furiously photographing, video recording and posting! 

Rather than a traditional chat with posted questions, we'll be tweeting and posting while we're processing. In addition to discussing pumpkins, we'll also post freezing tips, share pumpkin recipes and take food preservation questions. Followers can watch the process, join in the conversation and ask questions using #CanningLive.

Find Us:
Twitter: log on and follow us by using #CanningLive
Facebook: Join the group #CanningLive


Almost ready to harvest.

We grow several varieties of pumpkins and winter squash.

Lots of pies from a single pumpkin!!

Enjoy fresh pumpkin in baked goods, soups and side dishes.

Have questions about pumpkins or food preservation? Leave them in the comment section below.


Tuesday, September 8, 2015

Preserved Foods Judging

I've been judging preserved food competitions for over 20 years. Most take place at county fairs and cover water bath, pressure canned and dehydrated foods.

Competitors are often surprised to learn I don't taste products. Because a sealed jar doesn't ensure a safe product (previously discussed here), I judge the jars on other properties. A lot can be learned just by looking at the jar:

  • Food Maturity: Green beans should be tender and young. Large beans are generally overly mature and tough. Pickles should be made using small pickling cucumbers, which when harvested young, have small seeds.
  • Appropriate headspace: Recipes can call for anywhere from 1 1/4 inch to 1/4 inch headspace.
  • Submerged food: Liquid should cover the food. Exposed food can discolor during storage.
  • Clarity of liquid: Cloudy liquid can be caused by over processing, causing the food to break down (different produce varieties also stand up better to canning).  
  • Discolored food: Light colored fruit, like apples, pears and peaches, can oxidize and brown during preparation and processing.
  • Correct pack: Peaches should be cut in half, cavity side down. Whole fruit, like cherries, should be packed tightly without crushing fruit.
  • Fruit spreads: Jellies should be clear, not cloudy and move slightly. Jams should have a tighter set with bits of fruit distributed throughout the jar.
  • Firm seal: An unsealed jar is automatically disqualified. 


Jars are arranged by class. I prefer to judge in front of
exhibitors (open judging). Questions are encouraged.

The applesauce in the center was placed first. The other two sauces oxidized
(safe to eat, but discolored from browning fruit during
processing). The jar on the left has too much headspace.


Neither of these jars of sweet cherries won first place. The jar on the left
doesn't have enough headspace and the fruit is packed loosely.
The cherries on the right are sitting above the liquid.


These were all nice jars of sour cherries. The center and right jars
both had too little headspace with fruit outside the liquid.

To judge jellies, I pass a light through the jar. The clearer the jelly, the higher
the quality. How do you ensure clear liquid? Refrain from squeezing
the jelly bag as it force bits of pulp into the fruit juice.
Have questions about your entries? Leave a comment below!

Sunday, September 6, 2015

Fresh Tomatillo Salsa


Tomatillos grow like weeds in our garden. Many are volunteers from the previous year - including several plants sprouting from the compost pile. Due to the unusual growing season, this year's crop survived but produced small fruits.

Tomatillos are in the  nightshade family (along with tomatoes, eggplant and ground cherries). The fruit is green when ripe and grows in a papery husk. We grow tomatillos from seed, but I've recently noticed more greenhouses offering starts.

The flavor of tomatillo salsa is brighter than a traditional red salsa. In addition to eating with tortilla chips, I like to use it as an enchilada sauce with pork and chicken fillings. This recipe freezes well - make a double patch and pop some in the freezer!

Tomatillos grow in a papery husk. To use, remove the husk and rinse off the sticky residue.

Roast tomatillos, pepper and garlic on a rimmed baking sheet.

Roasted vegetables will soften and darken. Remove to a food
processor and grind along with cilantro, lime juice and water. 

Chop and rinse onions. Add to salsa (don't grind onions).

This salsa tastes best after it sits a day in the fridge.

Where's the margaritas?


Fresh Tomatillo Salsa
Adapted from Rick Bayless
Makes about 2 cups

16 ounces tomatillos, husked and rinsed
1 fresh jalapeno, stemmed
3 large garlic cloves, peeled
Handful of fresh cilantro, roughly chopped
2 Tbsp lime juice
2 Tbsp water
1 medium white onion, finely chopped
Salt

Roast the tomatillos, pepper and garlic on a rimmed baking sheet 4 inches below a very hot broiler, until blotchy and softening (they’ll be turning from lime green to olive), about 5 minutes. Flip them over and roast the other side. Cool, then transfer everything to a blender, including the juice the tomatillos have exuded during roasting. Add the cilantro and lime juice and water, then blend to a coarse puree. Scoop into a serving dish. Rinse the onion under cold water, then shake to remove excess moisture. Stir into the salsa and season with salt, about 1 teaspoon.


Thursday, August 20, 2015

Zucchini Bread

We always plant too many zucchinis. I ask the chief gardener for a two-plant limit. This year I think we had eight. Who eats that much zucchini?

The truth is, I'm not really a summer squash fan despite sauteing, grilling, and including in all kinds of casseroles. So what to do with all that veg? Bake with it!

This zucchini bread recipe is not your ordinary quick bread. It's sweet, very moist and studded with nuts.  In fact, it leans a bit towards a carrot cake. Which in my book, is awesome! I like using the oversized squash. As it gets bigger, the zucchini gets starchier which helps give the bread structure. And I like being able to use those big, funky squash.

In addition to great flavor, the bread freezes beautifully. Which makes this my preferred method for preserving zucchini. And it makes a big batch, in whatever size loaf pan you have. I use a combination of small and medium loaf pans. It makes four small and one medium loaf.

I prefer to peel the zucchini before using. The course peel can interfere with the crumb, lending a toughness to the bread. I've tried changing up the recipe with whole grain flour, but it turns out best with white, all purpose flour. Feel free to use your favorite nuts, or omit if you prefer. I like walnuts or pecans.


Thoroughly grease and flour loaf pans.

Prep zucchini: peel, quarter and remove seeds and pith.

Shred zucchini.

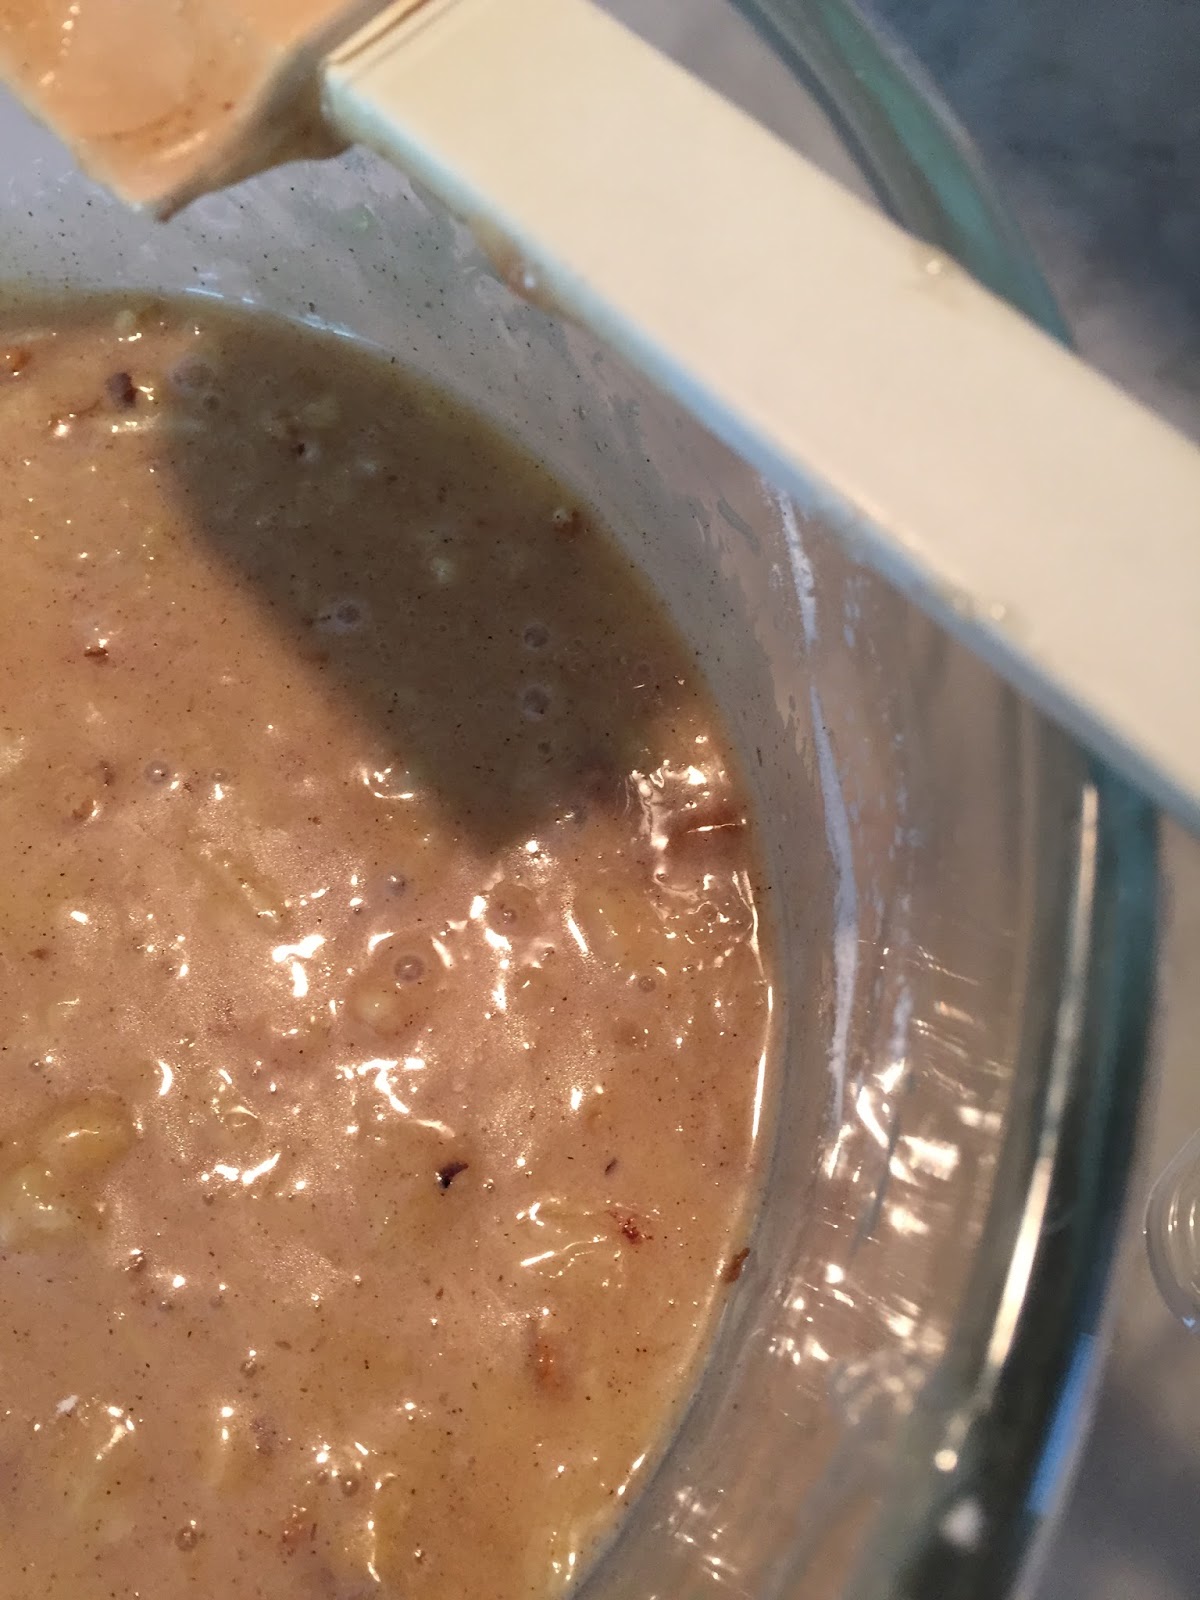
Make batter, stirring just until combined. Don't overmix.

Divide batter evenly between loaf pans.

Bake for 45 minutes to one hour, depending on the size of the pan.

Cool loaves 10 minutes and turn out of pans. I freeze most of this bread to
enjoy throughout the year.  I wrap in a layer each of wax paper and foil.

Once the bread is wrapped, I place the loaves in a zip-lock freezer
bag, then place in the freezer for a chilly nap.


Zucchini Bread
3 cups peeled, shredded zucchini, pithy seedy center removed
3 cups sugar
1 1/2 cups oil
4 eggs
3 cups flour
2 tsp baking soda
1 1/2 tsp cinnamon
1/2 tsp salt
1 cup nuts of your choice

In a large mixing bowl, combine zucchini, sugar, oil and eggs. Mix well. In another bowl, whisk together flour, soda, cinnamon and salt. Add flour mixture to zucchini. Mix just until combined. Stir in nuts.  Grease and flour loaf pans. Bake at 350 degrees for 45 min to 1 hour, depending on the size of the loaf pans. Cool 10 minutes in pan. Loosen by running a spatula around sides of pan. Wrap and freeze if desired.


Wednesday, August 12, 2015

Caraflex Cabbage Coleslaw

We started growing var. Caraflex cabbage a few years ago when we wanted a smaller variety with heads we could eat in one sitting. The plants fit into the smaller kitchen garden and has a unique "arrowhead" growing shape. Bonus: they do well starting from seed.

Caraflex is not suitable for fermenting but is perfect for slaw, stir fry, roasting, grilling and cabbage cups. When making sauerkraut, we prefer the large Flat Dutch variety. I've included one of my favorite vinegar slaw recipes below. It comes together fast and can hang out in the fridge for a couple days. It doesn't contain mayo, which makes it perfect for buffets or toting to summer gatherings.

In addition to being tasty, this cabbage has an
interesting, pyramid shape. Looks cool in the garden!

The core is longer than traditional cabbages. When making slaw, I prefer
 to chop into shreds with a sharp knife, rather than shred in the food processor.

Remove the core and shred. We also added a
couple of carrots from the garden.

The vinaigrette dressing comes together fast with ingredients you probably have in the
pantry. Although optional, the caraway seeds are a great accompaniment to the cabbage.

Combine the veg with dressing and refrigerate for at least 2 hours, but overnight is best.

Vinaigrette Coleslaw
from Better Homes & Gardens New Cook Book
Makes 4-6 side servings

3 Tbsp vinegar
3 Tbsp vegetable oil
2-3 Tbsp sugar
1/4 tsp dry mustard
1/4 tsp caraway seed (optional)
1/4 tsp pepper
1/4 tsp salt
Several dashes hot pepper sauce (optional)
4 cups shredded cabbage
1 cup shredded carrots
1/4 cup thinly sliced green onions

In a small bow, combine vinegar, oil, sugar, mustard, caraway seed, pepper, salt and hot sauce. Whisk until sugar is dissolved.

Combine cabbage, carrots and green onions. Pour vinaigrette over vegetables, tossing lightly to coat. Chill 2 to 24 hours. Toss again just before serving.

Saturday, August 8, 2015

Freezer Corn

I prefer to freeze, rather than can sweet corn. It's super fast, easy and the kernels stay intact. Because of the long, pressurized process time necessary to can corn, the kernels often break down. Freezing corn also allows me to control how long I cook the corn. A quick blanch before freezing, and a quick heat after freezing keeps the corn crisp and tender.

To prepare, purchase corn by the bushel when it's in season. Clean, blanch and cut kernels from cob. Place kernels in a freezer bag or vacuum packer.  Label and place in freezer, consuming within one year.

I always look forward to locally grown sweet corn on the Thanksgiving table. Throughout the year I add it to corn bread, and make corn cakes and fritters.


A neighboring farm grows sweet corn. From the field to the freezer in a couple hours!

To blanch, heat water to boiling, immerse corn and cook for two
minutes. Remove corn from water and cut kernels off cob. I've tried lots of
ways of removing the kernels. I think a pairing knife works best.


Place corn in freezer bags or seal using a vacuum packer. Place in freezer. 


Sunday, August 2, 2015

Garden Goings On August 2015

This summer has provided a few gardening challenges. An unusually wet June and July led to standing water for several weeks. A recent stretch of dry, sunny days has helped some plants recover, but the tomatoes took a hit: we lost almost the entire crop of slicers.

On the upside, successful crops included sour cherry, eggplant, beets, cucumbers and peppers. Looks like the pumpkins and winter squash are bouncing back, tomatillos are filling out and the ornamental broom corn looks fantastic. We're hopeful for the fall harvest.

I should add that the chief gardener is a bit uncomfortable that I'm sharing these photos. Due to the rain, the garden is pretty shaggy. Weeks passed with no tending, and when we finally waded in, the voracious mosquitos drove us out. But this is gardening. We all have good and bad years.

I'd love to hear how your season is progressing. Leave me a comment below!


A harbinger of summer! This is the last of the sunflowers. 

The Fairytale pie pumpkins are doing well. Several applications of
fungicide have helped with mildew issues.

Acorn squash recently set fruit.

Young butternut squash

This is the rye cover crop that we didn't terminate this year (plus weeds).

Broom corn is about seven feet tall. Looking forward to using in our fall decorations!

Tongue of Fire shelling bean drying on the bush. 

All the peppers did well, but the banana peppers were the heaviest producers.

This was our best eggplant year with more coming on. LOTS of eggplant parm!

We love this arrowhead cabbage (var. caraflex). The small, compact heads
are the perfect size for the two of us - great for slaws & stir fries. 

Tomatillos are just about ready. Green salsa coming soon!